To create a planogram for a new product launch, begin by gathering shelf dimensions, retailer guidelines, and product data — then map product placement according to shopper flow, category logic, and commercial objectives. The process combines data-led decision-making with visual merchandising principles to ensure the product is positioned where it will be seen, considered, and purchased. The sections below address each stage of that process in detail.
Before building a planogram, you need four categories of information: physical shelf specifications, retailer compliance requirements, product data, and shopper behaviour insights. Without these inputs, any planogram risks being rejected by the retailer or failing to perform at the shelf edge. Gathering this data upfront prevents costly revisions later in the process.
The physical specifications include bay width, shelf height, depth, and the number of shelves available. These dimensions determine how many facings are feasible and whether fixtures such as shelf trays, dividers, or header cards can be incorporated. Alongside this, retailers will typically provide a planogram brief or category guidelines that define mandatory adjacencies, brand blocking rules, and any restrictions on display materials.
Product data is equally critical. Each SKU requires accurate dimensions, weight, and packaging format so the planogram software can calculate capacity and stability. For a new product launch, this data should be finalised before shelf planning begins — late changes to pack size or format will invalidate the entire planogram. Shopper insight data, including eye-tracking studies, purchase journey analysis, and category purchase drivers, informs the strategic placement decisions that follow.
A new product launch introduces complexity that an existing range reset does not. There is no historical sales data to justify shelf space allocation, no established shopper recognition to rely on, and no proven adjacency to anchor the product within the category. Every placement decision must be justified through brand strategy and category logic rather than performance data.
This means the planogram process for a launch product is more hypothesis-led. Placement decisions are based on target shopper profiles, the product's price positioning relative to competitors, and the brand's wider retail strategy. Where an established product might earn prime shelf real estate based on rate of sale, a new product must earn its position through strategic argument — typically by demonstrating category incrementality or by securing a launch agreement with the retailer directly.
Launch planograms also tend to require more supporting retail display elements. Secondary siting, off-shelf displays, and POS fixtures are commonly used to drive awareness during the critical first weeks of availability. These elements need to be planned and produced in parallel with the primary shelf planogram to ensure coordinated in-store execution.
The key rules of product placement within a planogram are: position high-margin and high-velocity products at eye level, group products by shopper need rather than brand logic alone, maintain clear visual flow across the fixture, and ensure that the most commercially important facings are never obscured by adjacent products or structural elements.
Eye level — typically between 1.2 and 1.7 metres from the floor — is the most commercially valuable zone on any fixture. This is where shopper dwell time is highest and where new or premium products benefit most from visibility. Products placed below knee level or above shoulder height experience significantly lower engagement, which is why shelf position negotiation with the retailer is a strategic priority during any launch.
Brand blocking, where all SKUs from a single brand are grouped together, creates visual impact and aids shopper navigation. However, this must be balanced against category logic. Retailers increasingly favour need-state segmentation, where products are grouped by shopper occasion or benefit rather than by brand. Understanding the retailer's preferred category structure before building the planogram ensures the submission aligns with their merchandising philosophy and improves the likelihood of approval.
A planogram works for both the brand and the retailer when it drives category growth, not just brand share. The most effective planograms are built around a shared commercial objective: increasing basket value, improving shopper conversion, or growing the category by attracting new buyers. Framing the planogram submission in these terms significantly increases retailer acceptance.
From the brand's perspective, the planogram must secure sufficient facings to maintain availability, present the product at the correct eye level, and support the brand's visual identity through consistent fixture design and graphic communication. From the retailer's perspective, the planogram must fit within their space constraints, comply with their category guidelines, and demonstrably serve their shoppers.
The most effective approach is to present the planogram as a category recommendation rather than a brand-led request. This involves benchmarking competitor facings, identifying gaps in the current range, and showing how the new product addresses an unmet shopper need. Retailers respond to evidence-based arguments, and a planogram supported by category insight data is far more persuasive than one built solely around brand visibility objectives.
Planograms are created using specialist shelf planning software, with the most widely used platforms in UK retail being JDA (now Blue Yonder), Spaceman, and Nielsen Spaceman. These tools allow users to build accurate three-dimensional representations of fixtures, input product dimensions, assign facings, and generate compliance-ready outputs that retailers can review and approve.
The output format depends on the retailer's requirements. Most major UK grocery and pharmacy retailers accept planograms in PDF or proprietary software format, with product data supplied via a separate spreadsheet or product information file. Some retailers require planograms to be built within their own system templates, which means the brand or its agency must have access to the correct software version and category template files.
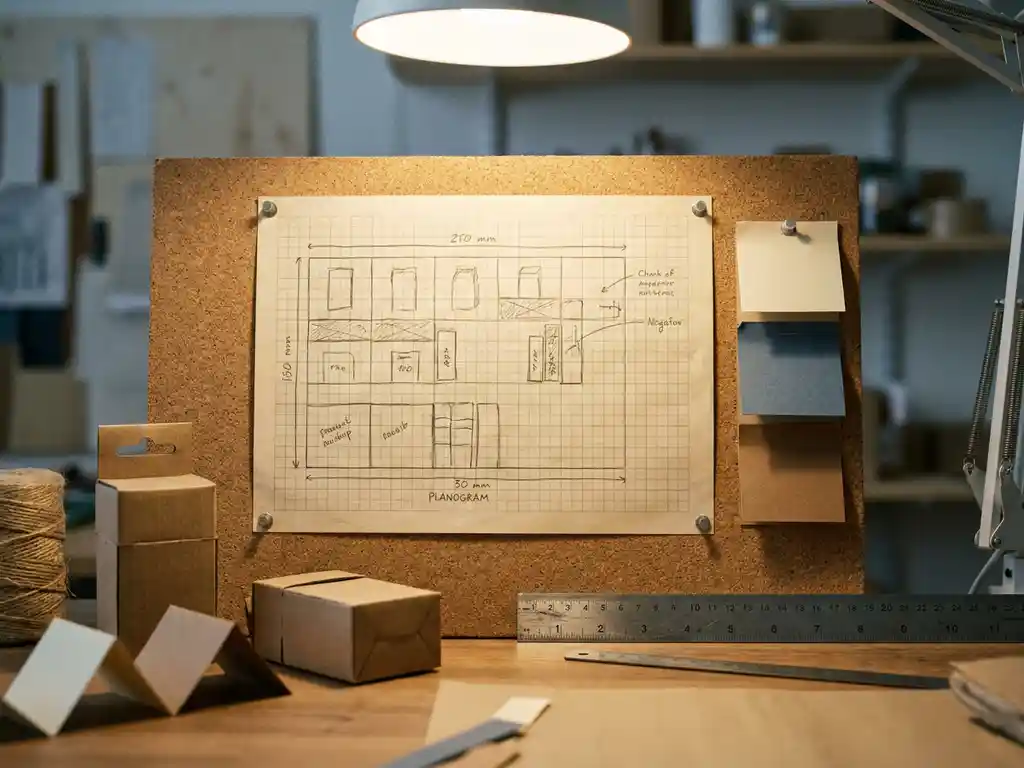
Beyond digital tools, physical prototyping plays an important role in validating planogram decisions before they are submitted for retailer approval. Building a physical mock-up of the fixture — using accurate shelf dimensions and real product samples — allows the brand team to assess visual impact, check adjacencies, and identify practical issues such as product overhang or poor shelf stability. This step is particularly valuable for new product launches where the packaging format is untested in a retail environment.
A planogram should be tested through a combination of physical mock-up review, internal stakeholder sign-off, and a controlled store trial before full rollout. Testing at each stage identifies issues that are far more costly to correct after installation than before it. A structured validation process protects both the brand's investment and the retailer relationship.
The physical mock-up stage involves recreating the planned fixture in a controlled environment using the specified shelving, real product, and any POS display elements. This allows the team to assess whether the planogram works visually, whether product facings are stable and accessible, and whether the overall presentation meets brand standards. Photographs and measurements taken at this stage form the basis of the installation guide issued to field teams.
A store trial — typically conducted across a small number of representative locations — provides real-world performance data before the planogram is scaled. Sales uplift, out-of-stock rates, and shopper feedback gathered during the trial period allow the planogram to be refined before wider rollout. Any changes to shelf position, facing count, or fixture configuration identified during the trial should be documented and incorporated into the final version before national implementation.
Translating a planogram from a digital file into a consistent, high-quality in-store reality requires more than software. It requires design expertise, manufacturing capability, and reliable installation. Pivotal provides an end-to-end retail display service that supports brands at every stage of that process.
For brands preparing a new product launch and seeking a partner who can manage the full journey from planogram concept to installed display, speak to the Pivotal team to discuss your brief.